The choice between a quad and standard cane is less about the number of legs and more about matching the device to your environment and using it with correct biomechanics.
- Incorrect height and using the cane on the wrong side can negate its benefits and increase fall risk.
- Wide-base quad canes, while stable on flat surfaces, become a specific liability on stairs and uneven ground.
Recommendation: A proper fitting and usage training from a physiotherapist is the most critical step to ensure your mobility aid enhances, rather than compromises, your safety during recovery.
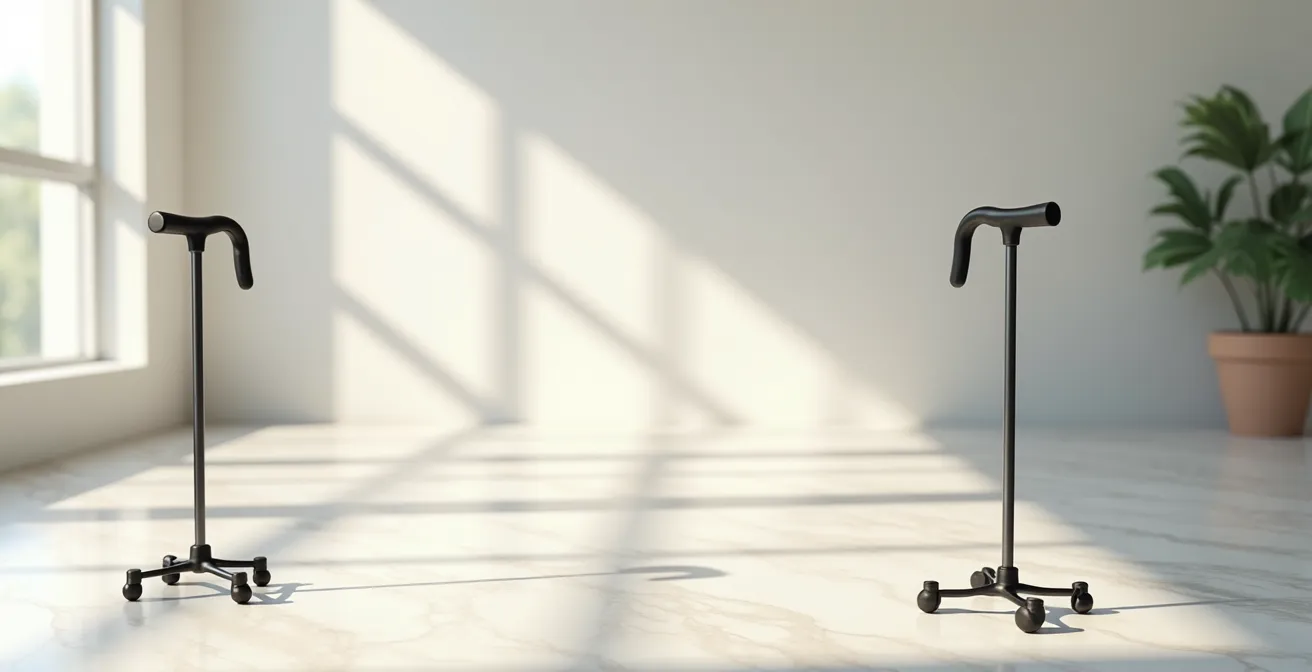
After a significant surgery like a hip replacement, regaining mobility is a primary goal. The choice of a walking aid is a critical decision in this journey. Many patients and their families gravitate towards a quad cane, operating under the seemingly logical assumption that four legs must be more stable than one. As a physiotherapist, my experience shows this is a dangerous oversimplification. True stability doesn’t come from the device alone, but from the precise interaction between the user, the aid, and the environment.
The conventional wisdom focuses on a simple “more support” vs. “less support” comparison. However, this overlooks the critical nuances of biomechanics, handle ergonomics, and environmental hazards. An improperly used quad cane can be more dangerous than a correctly used standard cane. The key to a safe recovery lies not in simply picking a device, but in understanding the principles of its operation—how to size it, how to move with it, and, most importantly, recognizing its limitations.
This guide moves beyond the surface-level debate. We will analyze the specific situations where a quad cane’s design becomes a hazard, the biomechanical mistakes that render a cane useless, and the environmental factors you must control. By understanding the “why” behind the techniques, you can make an informed choice and use your chosen aid as an effective tool for a confident and secure recovery.
To provide a clear and structured approach, this article breaks down the essential considerations for selecting and using a cane post-surgery. The following sections will guide you through the technical details that ensure your safety and optimize your recovery process.
Summary: Quad Canes vs. Standard Canes: Which Offers Better Stability for Post-Surgery Recovery?
- Why Wide Base Quad Canes Are Dangerous on Stairs?
- How to Measure Handle Height to Prevent Shoulder Pain?
- Offset Handle vs. Fritz Handle: Which Reduces Wrist Strain?
- The ‘Wrong Side’ Mistake That Makes the Cane Useless
- When to Replace Rubber Tips to Ensure Traction on Wet Floors?
- Why Thick Area Rugs Are the Number One Trip Hazard for Walkers?
- Why ‘R10’ Rated Tiles Are the Minimum Standard for Senior Showers?
- 3-Wheel vs. 4-Wheel Rollators: Which Model Navigates Narrow Hallways Best?
Why Wide Base Quad Canes Are Dangerous on Stairs?
The perceived stability of a wide-base quad cane on a flat, level surface is its greatest selling point. However, this very feature becomes its most significant liability on staircases. Most residential stairs are not wide enough to accommodate the full footprint of a wide-base quad cane. When one or more of the four tips hang over the edge of a step, the cane becomes a pivot point, creating a highly unstable and wobbly support that can easily lead to a loss of balance. This is a critical failure point that many users do not anticipate.
The risk is compounded by the fact that falls are a leading cause of injury and death among older adults. In the United States, the CDC reports fall death rates for adults 65 and over reached 69.9 per 100,000. Navigating stairs requires a specific, deliberate technique, especially with a quad cane. The primary support should always be a sturdy handrail when one is available. The cane then becomes a secondary point of balance, not the primary weight-bearing tool. A narrow-base quad cane can be a compromise, but a single-tip cane, combined with a handrail, is often a safer and more maneuverable option for stairways.
According to guidance from health systems like Allina Health, the proper sequence is paramount. Remember the phrase: “Up with the good, down with the bad.” When ascending, step up with your stronger (unaffected) leg first, then bring your weaker (affected) leg and the cane up to the same step. When descending, place the cane on the lower step first, then your weaker leg, and finally your stronger leg. At every point, you must ensure the entire base of the quad cane sits flat and secure on the step. Partial placement is an invitation for a fall.
How to Measure Handle Height to Prevent Shoulder Pain?
One of the most critical and frequently incorrect adjustments on a cane is the handle height. A cane that is too high or too low is not just uncomfortable; it’s a direct threat to your stability and can cause secondary injuries to your shoulder, back, and wrist. The correct height is essential for maintaining a proper posture and an efficient gait. An incorrect height forces you to alter your body mechanics, shifting your center of gravity and increasing your fall risk.
As a clinical standard, physical therapists advise that the top of the cane handle should align with the crease of your wrist when you are standing upright with your arm hanging naturally at your side. This positioning typically results in a 15- to 30-degree bend at the elbow when you grip the handle. This slight bend is crucial; it allows you to push down and support your weight effectively without locking your elbow or hunching your shoulder. A handle that is too high will force your shoulder to elevate, causing strain, while a handle that is too low will cause you to lean forward or to the side, compromising your balance.

A simple way to check your posture with the adjusted cane is the wall test. Stand with your back against a wall, with your heels a few inches from the baseboard. Hold your cane as you normally would. If you find your shoulders rounding forward or you have to lean away from the wall to use the cane, the handle is likely too low. Conversely, if your shoulder is pushed up or your elbow is completely straight, the handle is too high. Adjust the height in small increments until you can stand naturally against the wall while holding the cane comfortably.
Offset Handle vs. Fritz Handle: Which Reduces Wrist Strain?
While the base of the cane addresses stability, the handle is the primary interface with your body. The choice of handle design is crucial for comfort and for preventing repetitive strain injuries, particularly if you have pre-existing conditions like arthritis or carpal tunnel syndrome. The two most common ergonomic designs are the Offset and the Fritz handle, each with a distinct advantage for pressure distribution.
The Offset handle is designed with a specific bend near the top of the shaft. This design centers the user’s weight directly over the cane’s shaft, which reduces the deviation angle of the wrist. By keeping the wrist in a more neutral position, it minimizes stress on the carpal tunnel, making it an excellent choice for individuals with wrist-related nerve or tendon issues. The Fritz handle, on the other hand, was designed by a German count for his own arthritic hands. It is more open and has no confining pommel, allowing the fingers to spread out more naturally. This distributes pressure across the entire palm rather than concentrating it in one spot, which can provide significant relief for those with finger or palm arthritis.
The following table, based on information from professional resources like Physiopedia, breaks down the ideal uses for different handle types. As they note, a cane is appropriate for patients who “need just an additional point of contact with the floor for balance, have minor lower extremity weakness, or who need a small amount of weight bearing reduction.” The handle choice fine-tunes this support for specific user needs.
| Handle Type | Best For | Pressure Distribution | Key Benefit |
|---|---|---|---|
| Offset Handle | Carpal tunnel syndrome | Weight centered over shaft | Reduces wrist deviation angle |
| Fritz Handle | Finger arthritis | Spread across palm | Larger grip surface area |
| Gel/Ergonomic | Chronic pain, neuropathy | Cushioned throughout palm | Maximum comfort for extended use |
The ‘Wrong Side’ Mistake That Makes the Cane Useless
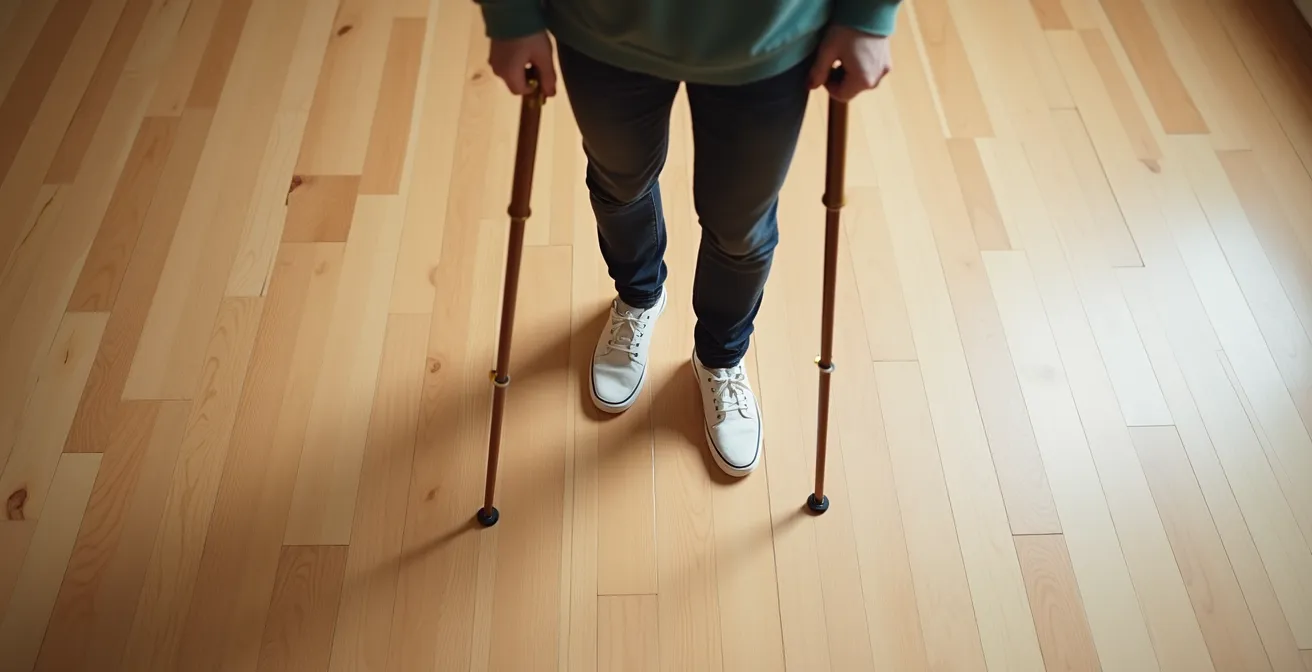
This is perhaps the most common and biomechanically critical error a new cane user can make. Intuition often tells people to hold the cane on the same side as their injured or weak leg, thinking they are “splinting” or “supporting” it directly. In reality, this is precisely the wrong thing to do. Using a cane on the same side as the affected leg creates an unstable and inefficient gait pattern, forcing you to lean and placing more stress on the injured area.
The correct method is to hold the cane on the opposite side of your affected leg. From a physiotherapy perspective, the reason is simple: it creates a wider and more stable base of support. When you walk, your arms naturally swing in opposition to your legs. By holding the cane on your “good” side, you allow it to move forward with your “bad” leg, mimicking this natural arm swing. This creates a stable, triangular base of support between your good foot, your affected foot, and the cane tip. This tripod base provides far superior balance compared to the narrow, linear base created when using the cane on the same side, which encourages lurching.
Think of it this way: the cane’s purpose is to take some of the load off your affected leg. When you place it on the opposite side and step forward with your affected leg, you can push down on the cane, effectively transferring a portion of your body weight through your arm and the cane, thereby reducing the force on your healing hip. This not only improves stability but also reduces pain and promotes a more normal walking pattern, which is essential for a full and proper recovery.
When to Replace Rubber Tips to Ensure Traction on Wet Floors?
The small rubber tip at the bottom of your cane is the single most important safety component of the entire device. It is the only point of contact between you and the ground. Over time, this tip wears down, hardens, and loses its ability to grip, especially on smooth or wet surfaces. A worn tip can be as dangerous as having no tip at all. Neglecting this simple piece of maintenance is a common oversight that can lead to a catastrophic fall, and the financial and personal costs are staggering. An analysis from the National Council on Aging shows that healthcare spending for non-fatal falls among older adults reached nearly $80 billion a year.
You must inspect your cane tip regularly for signs of wear. Look for cracks, hardening of the rubber, or uneven wear patterns. The most critical aspect to check is the tread depth. A simple and effective method for this is the “penny test,” adapted from a similar test for car tires. Place a penny with Lincoln’s head upside down into the deepest groove of the cane’s tread. If any part of Lincoln’s head is covered by the rubber, the tread is likely still adequate. However, if you can see his entire head, the tread is worn too low, and the tip must be replaced immediately.
Also, listen to the sounds your cane makes. A new, supple rubber tip is almost silent on hard floors. If you begin to hear a clicking or scraping sound as you walk, it’s a sign that the rubber has hardened and is no longer providing the necessary friction to prevent a slip. Replacement tips are inexpensive and widely available. Given the high stakes of a fall, there is no excuse to delay this crucial maintenance.
Why Thick Area Rugs Are the Number One Trip Hazard for Walkers?
While the title mentions walkers, the principle is critically relevant for quad canes. The very design that provides stability on a flat surface—the four-point base—creates multiple catch points when navigating environmental transitions like the edge of a rug. A single-tip cane might glide over a small obstruction, but any one of the four feet of a quad cane can snag on the edge of a thick area rug. This creates a sudden, jarring stop, and your forward momentum can easily propel you over the now-anchored cane, resulting in a serious fall.
From a home safety perspective, the ideal environment for a cane or walker user is one with minimal transitions and clutter-free pathways. Thick, high-pile rugs and loose throw rugs are among the most significant hazards. Their edges are prime snagging points, and their soft surface can feel unstable underfoot. For a patient in recovery, removing these hazards from main traffic areas is the first and most effective step in fall prevention. If a rug must be kept, it should be low-pile and securely fastened to the floor on all sides with high-adhesion, double-sided carpet tape. Installing beveled transition strips at the edges can also create a smoother ramp for the cane to glide over.
Conducting a thorough assessment of your home’s “floor-scape” is a proactive measure that can prevent accidents before they happen. This goes beyond just rugs and includes securing loose electrical cords, ensuring adequate lighting in all pathways, and maintaining a minimum clear walkway width of 36 inches.
Your Home Floor-Scape Assessment Checklist
- Pathways: Identify all high-traffic pathways (e.g., from bedroom to bathroom) and remove all loose throw rugs from these areas.
- Secure Edges: For any remaining area rugs, check that all edges are secured flush to the floor using high-adhesion double-sided carpet tape.
- Transitions: Install low-profile, beveled transition strips at any significant change in flooring height, such as from tile to carpet.
- Clutter Audit: Walk through your home and ensure all walkways are clear of clutter, cords, and furniture, maintaining a minimum 36-inch path width.
- Visual Cues: For individuals with low vision, consider adding high-contrast tape to mark the edges of steps or transitions between different flooring types.
Why ‘R10’ Rated Tiles Are the Minimum Standard for Senior Showers?
The bathroom is statistically one of the most dangerous rooms in the house for falls, due to the combination of hard surfaces and water. In the US, falls cause approximately 38,000 deaths annually in older adults, and a significant portion of fall-related injuries occur in the bathroom. The traction of your cane’s rubber tip is dependent on the surface it’s on, a property measured by the coefficient of friction. When a surface is wet, this friction plummets. This is why material standards for flooring in wet environments are not just a matter of design, but of critical safety.
The “R” rating (from R9 to R13) is a German standard for measuring the slip resistance of a floor tile. An R9 tile is suitable for dry indoor areas, but as soon as water is introduced, its safety profile diminishes rapidly. An R10 rating is considered the minimum standard for residential wet areas like showers and bathroom floors. This rating indicates that the tile has a textured surface, often invisible to the naked eye, that is sufficient to maintain an adequate coefficient of friction for a rubber cane tip even when wet. It provides the necessary grip to prevent the cane from sliding out from under you.

When renovating a bathroom or choosing a new home, specifying R10 or higher rated tiles for the shower and bathroom floor is a vital safety upgrade. Standard, glossy ceramic tiles, while easy to clean, offer dangerously low slip resistance when wet. If a renovation is not feasible, the use of high-quality, non-slip bath mats and the installation of securely mounted grab bars are essential compensatory measures. Never rely solely on a cane for stability in a wet, slippery shower; it should always be used in conjunction with other safety features.
Key Takeaways
- The stability of a mobility aid is determined by correct usage and environmental safety, not just its design.
- Fundamental checks like cane height, side of use, and tip condition are non-negotiable for preventing falls.
- A device’s features can become liabilities in the wrong environment, such as a quad cane on stairs or a rollator in a cluttered home.
3-Wheel vs. 4-Wheel Rollators: Which Model Navigates Narrow Hallways Best?
There comes a point in recovery, or with progressive conditions, when a cane may no longer provide sufficient support. The next logical step up in mobility aids is often a rollator, or “rolling walker.” Unlike a cane, which is an aid for balance, a rollator is a device you can bear significant weight through. As a general guide, some medical teams suggest that most people start using a cane about two weeks after surgery, but the transition to a rollator depends on individual stability and strength. The choice between a 3-wheel and 4-wheel model is a common dilemma, driven by a trade-off between maneuverability and stability.
A 3-wheel rollator is inherently narrower and has a much tighter turning radius. This makes it the superior choice for navigating the narrow hallways, tight corners, and cluttered spaces often found in older homes or apartments. However, this agility comes at the cost of stability. Their triangular footprint makes them more prone to tipping, especially when turning quickly or on uneven ground. They are best suited for individuals who need moderate support but prioritize indoor maneuverability.
A 4-wheel rollator, with its rectangular base, offers maximum stability. It’s the safer option for outdoor use and for individuals who need to bear a significant amount of weight. Most models include a seat, which is a crucial feature for users with low endurance who need frequent rest breaks. The trade-off is their larger size. A wider frame (often 22-24 inches) can make it difficult or impossible to pass through standard interior doorways or navigate furnished rooms. This table provides a clear comparison of their features.
| Feature | 3-Wheel Rollator | 4-Wheel Rollator |
|---|---|---|
| Turning Radius | Tighter turns | Turn in place capability |
| Stability | Less stable, tips easier | Maximum stability |
| Width | Narrower frame (18-20″) | Wider frame (22-24″) |
| Weight Capacity | Usually 250 lbs | Up to 400 lbs |
| Cane Holder | Often lacking | Usually included |
Ultimately, selecting and using a mobility aid is a dynamic process that requires expert guidance. The information here provides a foundation, but it cannot replace a personalized assessment. To ensure your safety and maximize your recovery potential, the next logical step is to consult with a physiotherapist who can perform a proper fitting, provide hands-on training, and help you select the device best suited to your specific needs and home environment.