A successful curbless shower conversion hinges not on individual products, but on a complete, integrated waterproofing system that treats the entire shower area as a sealed envelope.
- Structural integrity is paramount; modifying floor joists correctly is non-negotiable to prevent floor flex, which is the primary cause of waterproofing failure.
- Water containment is a strategy, not an accessory. It relies on proper slope, drain capacity, and membrane continuity, not just a glass panel.
Recommendation: Prioritize a bonded waterproofing membrane system (like a foam pan and sheet membrane) over traditional methods for a faster, more reliable, and factory-perfect slope, eliminating the risk of installer error.
The decision to convert a classic bathtub into a modern, curbless shower is often driven by a desire for improved accessibility and sleek, contemporary aesthetics. Homeowners are drawn to the seamless transition from bathroom floor to shower, a design that is not only elegant but essential for aging in place. However, this dream can quickly turn into a nightmare fueled by one primary fear: water leaks. The thought of water seeping through the floor, rotting the subfloor, and causing catastrophic damage is the single biggest barrier for many. This fear is justified, as a curbless installation removes the one thing that has always contained the water—the tub basin.
The common advice often revolves around generic tips like “use a good membrane” or “make sure it slopes.” While not incorrect, this advice dangerously oversimplifies a complex process. A truly leak-proof curbless shower is not a collection of high-quality parts; it is a meticulously engineered system-based waterproofing assembly. Every component, from the tile choice to the drain and the hidden membrane, must work in concert. The industry has seen a massive shift towards these integrated systems, with a recent National Kitchen & Bath Association study showing that 67 percent of respondents chose zero-clearance entry showers, pushing manufacturers to develop foolproof solutions.
But if the key isn’t just the products, what is it? The real secret to a bathroom that will last for decades without a single drop of rogue water is understanding the *principles* behind the process. It’s about shifting focus from simply blocking water to actively managing it. This involves creating a continuous, monolithic waterproof “envelope” that begins at the drain and extends up the walls and out onto the bathroom floor. This guide abandons simplistic checklists in favor of a deep dive into the technical reasoning behind each critical step. We will deconstruct the process to give you the knowledge needed to oversee your project with confidence, ensuring your investment is beautiful, accessible, and absolutely watertight.
To navigate this technical journey, we have structured this guide to address each critical layer of the conversion process, from the drain that forms the foundation to the final surface treatments that ensure safety and longevity.
Summary: Tub to Curbless Shower: A Specialist’s Guide to Flawless Subfloor Waterproofing
- Why a Linear Drain Is Superior for Large Format Tiles in Showers?
- How to Recess the Subfloor Joists Without Compromising Structural Integrity?
- Prefab Foam Pans vs. Traditional Mud Beds: Which Is Faster to Install?
- The Splash Guard Mistake That Floods the Bathroom Floor Every Day
- When to Install Underfloor Heating to Speed Up Wet Room Drying?
- Why ‘R10’ Rated Tiles Are the Minimum Standard for Senior Showers?
- Sponge Bath vs. Shower Chair: Which Is Less Stressful for Dementia Patients?
- Anti-Slip Treatments vs. New Tiles: Which Solution Lasts Longer in Wet Rooms?
Why a Linear Drain Is Superior for Large Format Tiles in Showers?
The choice of drain is the single most important decision that dictates the entire construction of the shower floor. While traditional point drains are familiar, they require the floor to be sloped from all four directions, creating a funnel shape. This complex geometry is incompatible with the large format tiles popular in modern design. In fact, a recent report highlighted that 59% of designers prefer large format tile for its clean, minimalist look with fewer grout lines.
This is where the linear drain proves its superiority. By placing a long, rectangular drain along one wall, you only need to create a single, uniform slope across the entire shower floor. This planar surface is perfect for setting large tiles without awkward cuts or lippage, maintaining the integrity of the design. This isn’t just an aesthetic choice; it’s a functional one. A single, uninterrupted slope directs water more predictably and efficiently.
However, the drain’s capacity and position are critical engineering factors. The flow rate of your shower fixtures must not exceed the drain’s capacity. A standard showerhead uses about 1.5-2.5 gallons per minute (GPM), but a system with multiple body sprays can easily triple that. A linear drain’s position affects its performance; industry specifications note a 5 GPM maximum flow rate at the shower entrance, but this increases to 10-12 GPM when placed at the back wall. Placing the drain at the entrance is a common design choice, but it requires careful calculation to prevent water from overwhelming the drain and flowing out into the bathroom. A 2-inch drain outlet, standard for most residential applications, can handle approximately 9 GPM, which is sufficient for most single-fixture setups.
How to Recess the Subfloor Joists Without Compromising Structural Integrity?
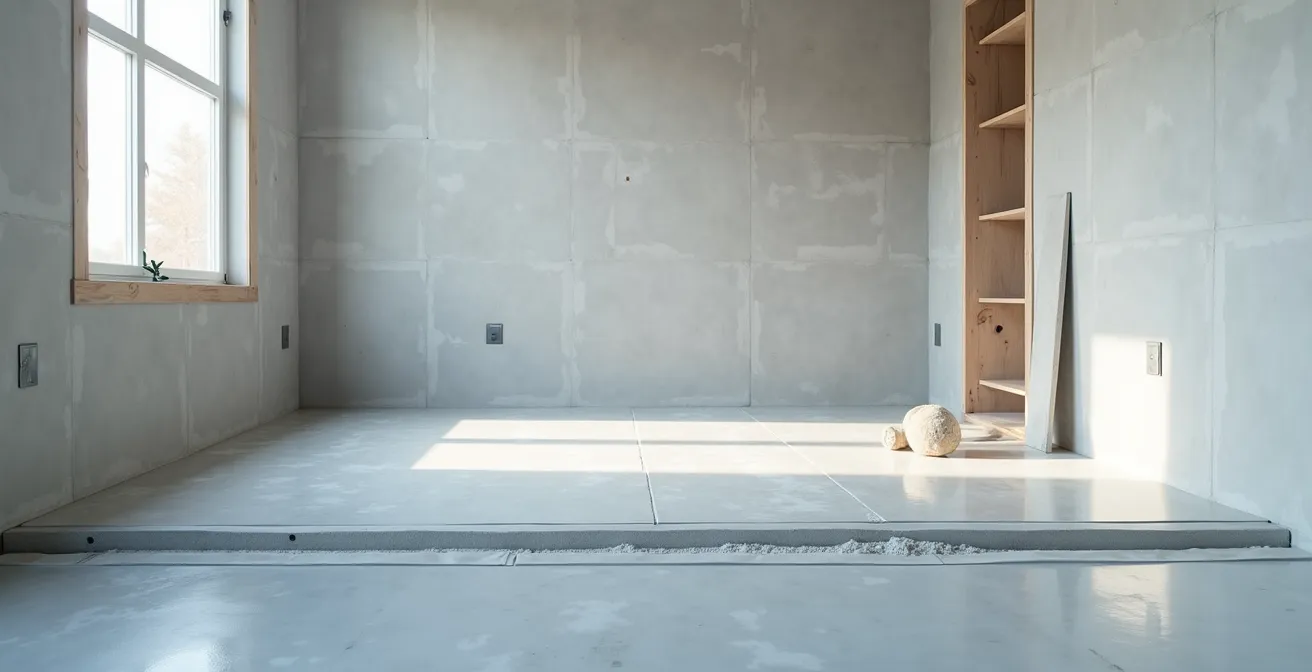
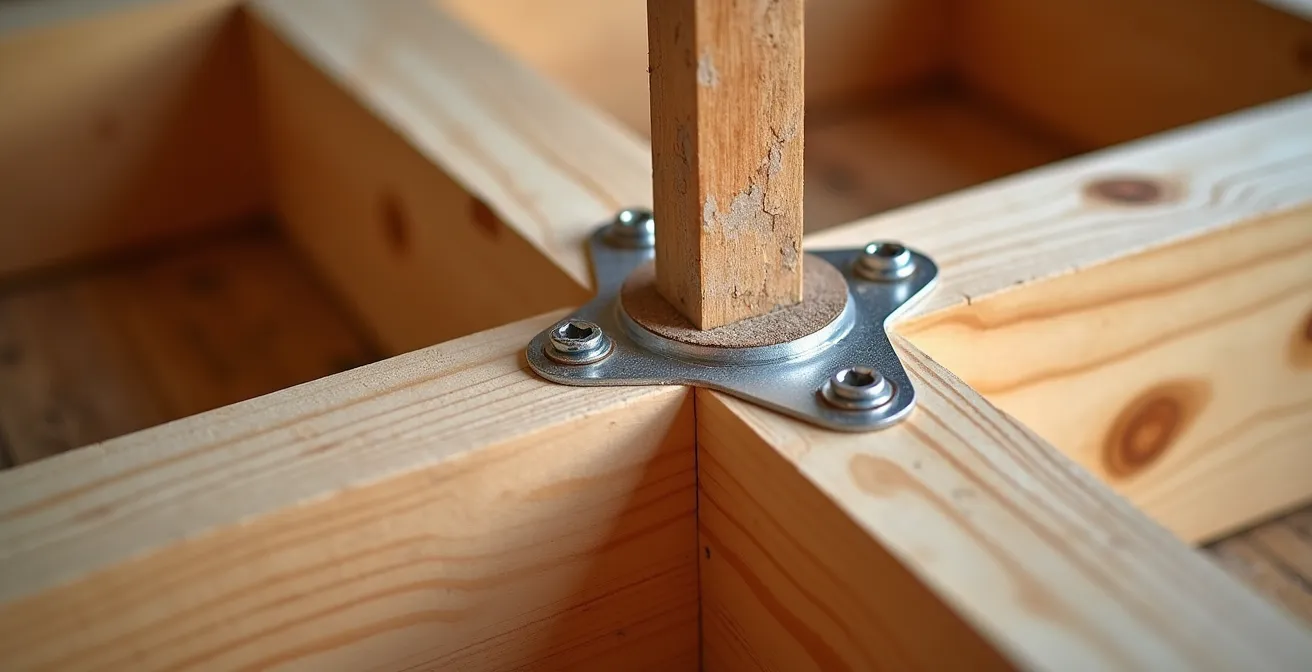
To achieve a true, zero-barrier entry, the shower floor must be lower than the main bathroom floor to accommodate the slope and tile assembly. On a concrete slab, this is achieved by creating a recess in the concrete. On a wooden subfloor, however, this requires modifying the floor joists—a process that terrifies homeowners and, if done incorrectly, can severely compromise the home’s structure. The most common mistake is to indiscriminately cut the tops of the joists to lower the subfloor. This is dangerous, especially in the middle third of a joist’s span where the bending forces are greatest.
The correct method involves a structural assessment. The goal is to lower the subfloor (typically 3/4-inch plywood or OSB) to sit flush with or recessed between the joists. This can be done by adding 2×4 or 2×6 blocking secured to the sides of the existing joists. The new, lowered subfloor then rests on this blocking. This technique preserves the full height and strength of the original joists. In some cases, joists can be sistered (reinforcing them with identical lumber alongside) to add stiffness and prevent deflection, which is the enemy of tile and grout.
An alternative, and often superior, method is to build the main bathroom floor *up* instead of cutting the shower floor *down*. By adding a new layer of 3/4-inch plywood to the bathroom floor area outside the shower, you create the necessary height difference to install a pre-fabricated shower pan directly on the original subfloor. This approach completely avoids cutting joists, and while it involves more material, the cost reductions of approximately $1000 can be expected from savings in complex framing labor.
Your Action Plan: Structural Assessment for Curbless Installation
- Check existing subfloor thickness by removing a floor register vent to see the layers.
- Calculate the required recess depth; a standard foam pan system needs at least a 1-1/8 inch drop.
- Verify joist spacing (e.g., 16 inches on center) and their total span length to assess load capacity.
- Determine if blocking between joists is sufficient or if new, properly secured blocking is needed.
- Assess if notching the top of joists is absolutely required and follow building codes strictly if so (never in the middle third of the span).
- Consider building up the surrounding bathroom floor if recessing the subfloor is structurally unadvisable.
Prefab Foam Pans vs. Traditional Mud Beds: Which Is Faster to Install?
Once the subfloor is prepared, the next step is creating the sloped base for the tile. This is where you face a major decision: use a modern prefabricated foam pan or a traditional dry-pack mortar “mud” bed. The choice significantly impacts installation time, cost, and guaranteed performance. A mud bed is the old-school method, where a skilled installer hand-packs a mortar mix to create a custom slope. While it allows for unlimited customization in size and shape, it is entirely dependent on the installer’s skill. An imperfect slope can lead to puddles, and the process is slow, requiring 1-2 days to pack, shape, and fully cure before waterproofing can begin.
Prefabricated foam pans, like those from Schluter-KERDI or similar systems, are a game-changer for speed and accuracy. These high-density foam trays come with a pre-engineered, factory-perfect slope. Installation is dramatically faster, often taking just a few hours. The pan is simply thin-setted to the subfloor. Furthermore, these pans are incredibly lightweight (5-10 lbs) compared to a mud bed, which can weigh over 200 lbs when wet, adding significant dead load to the floor structure. The primary downside is that you are limited to standard sizes, although many can be trimmed slightly.
The following table, based on common industry knowledge similar to analyses by professionals like the Bathroom Remodeling Teacher, breaks down the key differences:
| Feature | Prefab Foam Pan | Traditional Mud Bed |
|---|---|---|
| Installation Time | 2-4 hours | 1-2 days (including drying) |
| Slope Accuracy | Pre-engineered perfect slope | Installer skill-dependent |
| Weight on Structure | Lightweight (5-10 lbs) | Heavy (200+ lbs when wet) |
| Customization | Limited to available sizes | Fully customizable shape |
| Cost | Higher material cost ($200-500) | Lower material cost ($50-100) |
| Wheelchair Accessibility | Standard turning radius | Custom radius possible |
For most homeowners, the higher material cost of a foam pan is easily offset by the reduced labor costs and, more importantly, the peace of mind that comes with a guaranteed, perfectly sloped surface. This is a core component of a modern, bonded waterproofing system.
The Splash Guard Mistake That Floods the Bathroom Floor Every Day
One of the most appealing aspects of a curbless shower is the open, airy feeling, which is why a recent survey showed that 55% of designers choose a no-door, open entrance. However, this aesthetic goal leads to a critical mistake: relying solely on a minimalist glass panel or “splash guard” to contain the water. Homeowners are often shocked to find a puddle on their bathroom floor after every shower, assuming the panel is failing. The reality is that the panel isn’t failing; the water containment *strategy* is.
Effective water containment in a curbless system is about more than a physical barrier. It’s a holistic approach that anticipates water movement. Firstly, the shower area must be sufficiently large, and the showerhead positioned to minimize direct spray towards the opening. Secondly, the waterproofing membrane must extend well beyond the designated “wet area.” A common professional standard is to waterproof the entire bathroom floor, creating a full “wet room,” but a minimum of 3 to 4 feet of waterproofing beyond the shower entrance is essential. This creates a buffer zone where any escaped water is still on a waterproof surface and can evaporate or be wiped up without causing damage.
The “splash guard mistake” is believing that a small, fixed panel can defy physics. Water ricochets off the body and walls, and can easily bounce around a short panel. Furthermore, subtle issues like a shower curtain that billows outwards or a floor that isn’t perfectly level outside the shower can create pathways for water to escape. This is where capillary action can become a problem, as water can wick underneath the edge of a poorly sealed glass panel track. The solution is an integrated strategy: a properly sloped floor, a correctly sized and placed drain, and an extended waterproof envelope. The glass panel is the last line of defense, not the first.
Checklist for a Bulletproof Water Containment Strategy
- Install the linear drain wall-to-wall to capture all water and prevent it from pooling in corners.
- Extend the waterproofing membrane at least 36 inches (3 feet) beyond the shower opening.
- Use a long (6-foot) level to check the main bathroom floor for any unintended micro-gradients that could channel water away from the drain.
- Position glass panels strategically to block the primary “ricochet zones” based on showerhead placement.
- If using a curtain, consider a weighted shower curtain that is less likely to billow out from air currents.
- Ensure the entire bathroom floor is waterproofed for at least 4 feet from the shower entrance as a best practice.
When to Install Underfloor Heating to Speed Up Wet Room Drying?
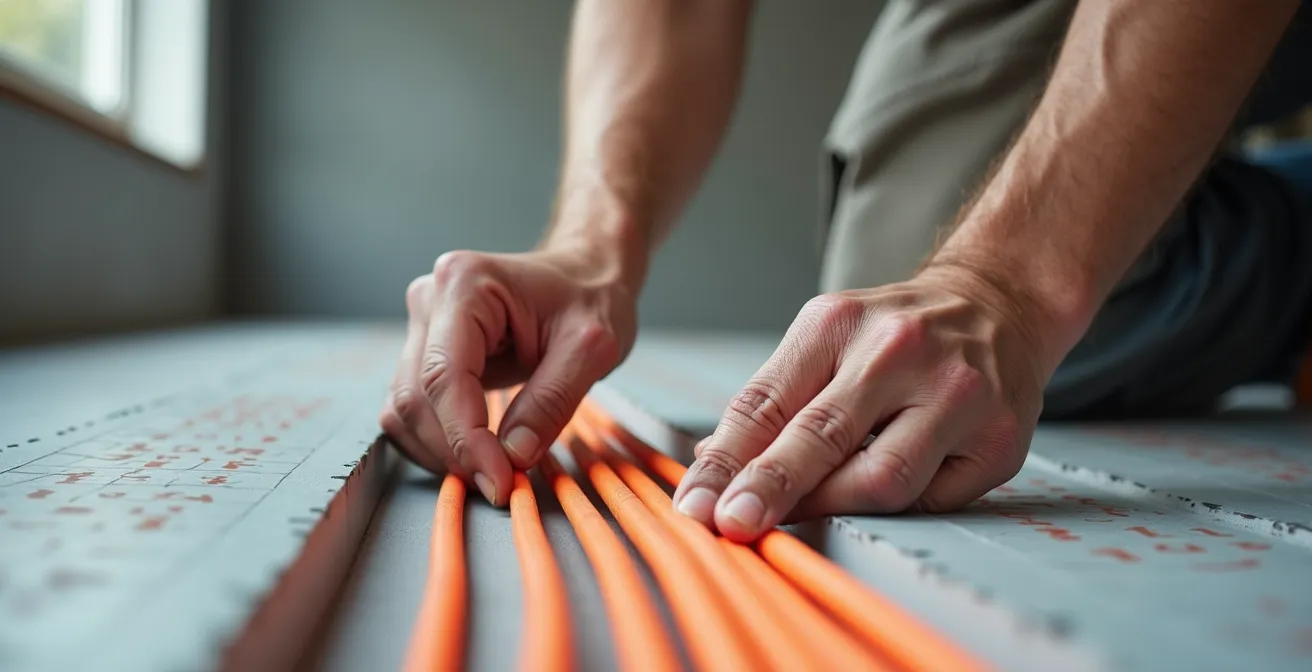
Underfloor heating in a bathroom is often considered a luxury feature, prized for the comfort of warm tiles underfoot on a cold morning. However, in a curbless shower or full wet room, it transforms from a luxury into a highly functional component of the waterproofing system. The primary benefit in this context is its ability to significantly accelerate the drying process. By gently warming the floor after a shower, radiant heat speeds up the evaporation of any residual water on the tile and in the grout lines.
This rapid drying is crucial for two reasons. First, it drastically reduces the potential for mold and mildew growth in the grout, which thrives in damp environments. This keeps the shower cleaner and more hygienic. Second, it helps maintain the slip-resistant properties of the tile, as a dry surface is always safer than a damp one. The ideal time to install the heating system is right after the shower pan and waterproofing membrane are in place, but before the tile is laid. The heating cables or mats are embedded in a layer of thin-set mortar directly on top of the waterproofed surface.
For maximum efficiency, the system should be paired with a programmable thermostat. This allows you to schedule the heat to run for 60-90 minutes automatically after typical shower times, ensuring the floor dries completely without requiring manual intervention. Furthermore, radiant heat enhances the user experience, especially for seniors. As noted in many professional guides, features like stone or marble benches can become uncomfortably cold; radiant heating eliminates that chill, making the showering experience safer and more pleasant. It’s a relatively small upfront cost that pays huge dividends in maintenance, safety, and comfort over the life of the bathroom.
Why ‘R10’ Rated Tiles Are the Minimum Standard for Senior Showers?
Once the complex waterproofing system is in place, the final surface—the tile—becomes the primary point of interaction. For any bathroom, but especially one designed for seniors or those with mobility challenges, slip resistance is not an option; it is a critical safety requirement. The catastrophic risk of falls is well-documented; in Singapore, for example, the Health Promotion Board found that 1 in 3 seniors aged 60 and over have recurring falls. A wet, slippery tile floor is a major contributor to this statistic.
To standardize safety, tiles are given a slip-resistance rating. The most common system in Europe and widely referenced globally is the “R” rating (Ramp Test). This value, from R9 to R13, indicates how slip-resistant a tile is at various angles. For a residential bathroom, an R10 rated tile is considered the absolute minimum. An R9 tile is only suitable for dry areas like a hallway. An R10 tile provides adequate grip for areas that get occasionally wet, like the main bathroom floor.
However, for the floor inside the shower—a constantly wet and often soapy environment—an R11 or even R12 rating is the recommended standard for optimal safety. These tiles have a more textured surface that provides superior grip even when wet. It’s a common misconception that slip-resistant tiles are rough and difficult to clean. Modern manufacturing techniques produce tiles with micro-textures that are effective for safety but still smooth enough for easy maintenance.
This comparative table, based on industry standards referenced by suppliers like Solidshape, clarifies the ratings:
| Rating | Slip Angle | Recommended Use | Senior Safety Level |
|---|---|---|---|
| R9 | 6°-10° | Dry areas only | Insufficient for seniors |
| R10 | 10°-19° | Bathrooms with occasional moisture | Minimum acceptable |
| R11 | 19°-27° | Wet rooms, shower areas | Recommended standard |
| R12 | 27°-35° | Direct splash zones | Optimal for mobility issues |
Sponge Bath vs. Shower Chair: Which Is Less Stressful for Dementia Patients?
While the technical construction of a curbless shower focuses on water and structure, its ultimate purpose is human-centric: to provide a safe and comfortable bathing experience. This becomes particularly poignant when designing for individuals with cognitive challenges like dementia. For a person with dementia, the sensory experience of a shower—the sound of running water, the sudden temperature changes, the feeling of being enclosed—can be overwhelming and trigger anxiety or agitation.
In this context, the debate between a sponge bath and using a shower chair inside a curbless shower is a matter of individual comfort and tolerance. A sponge bath, given at the bedside or in a warm room, offers a controlled, quiet environment. It eliminates the fear of falling and the sensory overload of a shower. However, many individuals may find it less dignified or feel they are not getting “truly clean.”
A shower chair within a spacious, warm curbless shower offers a powerful alternative. It provides stability and reduces the fear of slipping. A handheld showerhead allows the caregiver to control the water pressure and temperature, introducing water to one part of the body at a time to reduce shock. The key is observation and adaptation. A caregiver might find that starting with a sponge bath on the chair and only gradually introducing the running water is a successful “phased” approach. The goal is not to force one method, but to use the safe, accessible environment of the curbless shower to find the least stressful routine. The absence of a tub wall or curb removes a major physical and psychological barrier, making the entire process feel more open and less confining.
Key Takeaways
- A curbless shower’s success relies on a complete ‘system’ of integrated components, not just individual high-quality parts.
- Properly recessing or building up the subfloor to avoid compromising joist integrity is the most critical structural step.
- The combination of a linear drain and a prefabricated foam pan offers the most reliable and efficient path to a leak-proof, perfectly sloped floor for large format tiles.
Anti-Slip Treatments vs. New Tiles: Which Solution Lasts Longer in Wet Rooms?
When faced with an existing tile floor that is dangerously slippery, homeowners have two main options: applying an anti-slip treatment or replacing the tiles altogether. Anti-slip treatments are often presented as a quick and inexpensive fix. These typically come in two forms: coatings and acid etchants. Coatings apply a clear, textured layer on top of the tile. While effective initially, these coatings are prone to peeling, yellowing, and wearing away, especially in high-traffic, wet environments like a shower. They require reapplication every 1-3 years, making them a temporary solution with ongoing maintenance.
Acid-etching treatments work differently. They use a mild acid to create microscopic pores on the tile’s surface, increasing its surface area and creating a “suction cup” effect when wet. This method is more durable than a coating because it permanently alters the tile itself. However, it can slightly dull the tile’s finish and, more importantly, the newly created pores can trap dirt and soap scum, making the floor more difficult to keep clean. The effectiveness also diminishes over time as the pores wear down.
In contrast, installing new tiles with a factory R11 or R12 rating is the superior long-term solution. While the upfront cost is significantly higher, the slip-resistant properties are baked into the tile’s material and structure. The safety performance will not degrade over the lifespan of the tile. There is no reapplication needed, no risk of peeling, and the tiles are designed from the ground up for both safety and cleanability. For a wet room or shower floor, especially one designed for long-term accessibility and safety, replacing the tiles is an investment in permanent peace of mind that anti-slip treatments simply cannot match in terms of durability and reliability.
To ensure your investment in an accessible and beautiful bathroom is protected for decades to come, the focus must remain on a holistic, system-based approach to waterproofing. Begin your project by consulting with a certified installer who understands these principles and can tailor them to your home’s specific structure.