Giving up cooking due to arthritis pain is not inevitable; the solution isn’t a drawer full of gadgets, but a new way of thinking about kitchen tasks.
- True independence comes from prioritizing leverage over raw grip strength.
- The best tools are not just easy to use, but also simple to clean and maintain.
Recommendation: Instead of searching for a single “magic” tool, focus on building a personalized “kitchen ecosystem” of high- and low-tech solutions that conserve your energy and protect your joints.
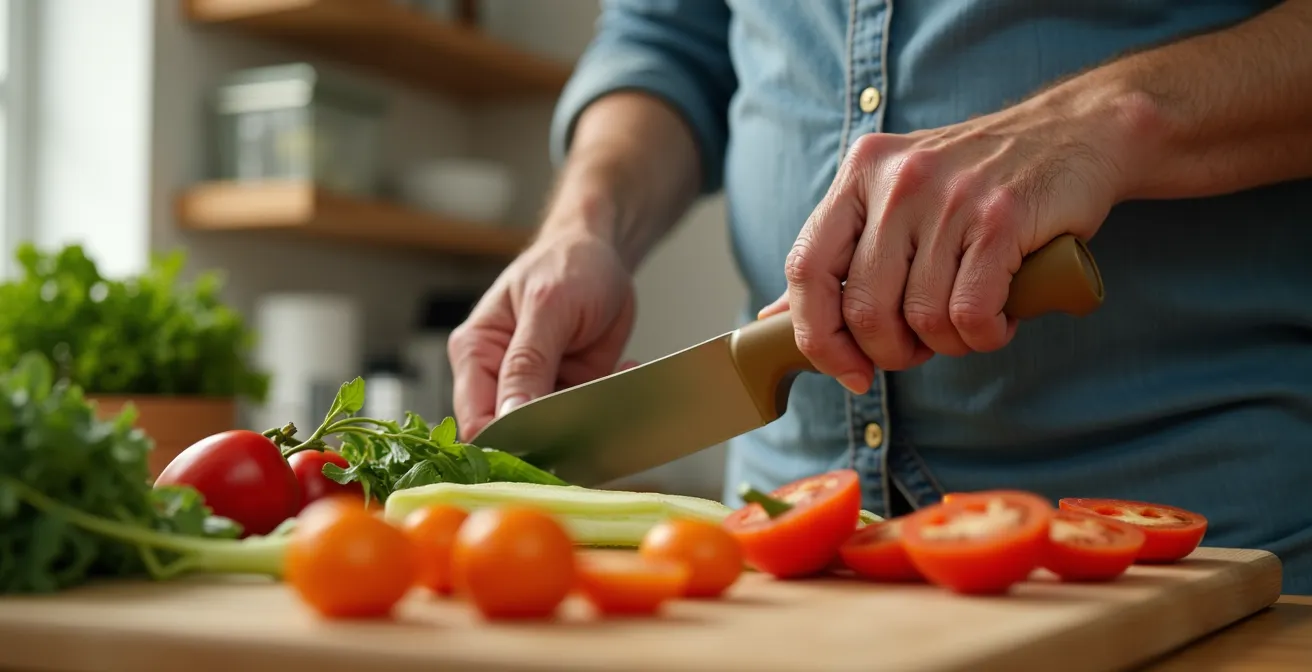
The frustration is palpable. A simple jar of pickles remains sealed, a carrot defiantly hard, a can of soup inaccessible. For many seniors with arthritis, the kitchen, once a place of creativity and joy, has become a source of pain and a daily reminder of lost dexterity. This often leads to a slow retreat from cooking altogether, relying on processed meals and losing a cherished part of life. The market is flooded with so-called “ergonomic” gadgets, each promising to be the solution. Yet, many of these end up in a drawer, either too complex, too difficult to clean, or simply ineffective at solving the core problem.
The common advice is to “buy tools with big handles,” but this only scratches the surface. What if the secret to reclaiming your kitchen wasn’t about finding the perfect tool, but about mastering a better strategy? This guide shifts the focus from simply buying products to understanding the principles behind them. We will explore the concept of using leverage instead of grip, how to decode packaging for truly useful features, and why a tool’s cleanability is as important as its primary function. It’s about building a smart, personalized toolkit—a true kitchen ecosystem—that works with your body, not against it.
This article provides a practical framework for evaluating and selecting the tools that will genuinely restore your confidence and independence. Below is a summary of the key areas we will cover to help you navigate this journey.
Summary: A Practical Guide to Reclaiming Your Kitchen from Arthritis
- Why Grip Strength Declines Affect Cooking Safety First?
- Why Using Leverage Instead of Grip Strength Saves Your Hands?
- Electric Can Openers vs. Weighted Knives: Which Solves the Bigger Pain Point?
- How to Identify ‘Ease-of-Use’ Certification on Packaging?
- The ‘Drawer of Useless Gadgets’ Trap: Buying Tools You Can’t Clean
- Why 34 Inches Is the Magic Height for Seated Meal Preparation?
- When to Prep Ingredients to Avoid ‘Morning Stiffness’ Delays?
- Which Adaptive Tools Help Arthritis Sufferers Perform Daily Tasks Pain-Free?
Why Grip Strength Declines Affect Cooking Safety First?
Before any discussion of convenience, it’s crucial to address the primary issue: safety. A weakened grip isn’t just an inconvenience; it’s a hazard. The inability to securely hold a heavy pot, a sharp knife, or a hot pan turns the kitchen into a high-risk environment. Burns from spills, cuts from dropped knives, and strain from lifting heavy items are the first and most dangerous consequences of declining grip strength. In fact, clinical research demonstrates that arthritis patients show 40% weaker grip strength than healthy controls, which directly correlates with an increased risk of dropping objects.
This decline forces a change in how every task is approached. What was once an automatic action—lifting a full kettle—now requires conscious planning. The fear of an accident can lead to avoidance, which is the first step toward giving up on cooking entirely. Addressing safety is therefore the foundational step to restoring independence. It’s not about regaining the grip strength of your youth, but about implementing strategies and tools that bypass the need for it. The goal is to create a kitchen where you can operate confidently, knowing that the most dangerous risks have been mitigated through smart adaptation.
Case Study: Adaptive Techniques Bypassing Grip Strength
An occupational therapy patient successfully adapted her kitchen routine by switching to right-angled knives, two-handled pots, and sliding heavy items along the counter instead of lifting. She reports being able to safely move hot cast iron cookware by pressing it against her body with oven mitts, using her core strength rather than grip. This technique reduced her kitchen accidents by 75% over six months.
Why Using Leverage Instead of Grip Strength Saves Your Hands?
The single most important principle for anyone cooking with arthritis is to stop thinking about force and start thinking about leverage. Your hands have a finite capacity for strain, and tasks like twisting jar lids, pinching to open packages, or gripping thin handles exhaust it quickly. Leverage is the great equalizer. It uses mechanical advantage to multiply the force you can apply, allowing you to accomplish tasks with minimal effort and joint stress. For those with arthritis, research from 2023 reveals that over 42.2% of rheumatoid arthritis patients experience significant grip strength reduction, making this principle not just helpful, but essential.
Instead of trying to power through the pain, look for tools and techniques that do the work for you. A long-handled jar opener allows you to twist a lid with the strength of your whole arm, not just your fingers. A rocker knife uses the gentle motion of your arm to chop, eliminating the need to grip and press down. The core idea is to transfer the workload from small, painful joints (fingers, wrist) to large, strong muscle groups (arms, shoulders, even body weight). By consistently choosing leverage over grip, you conserve energy, reduce pain, and protect your joints from further damage, extending your ability to cook independently for years to come.
Your Action Plan: Three Leverage Techniques to Protect Your Joints
- Use your palm instead of fingertips: Press buttons or switches with the heel of your hand to distribute force across a larger, more stable surface area.
- Employ body weight for opening: Lean your shoulder or hip against heavy refrigerator doors or push stubborn drawers closed with your body instead of pushing with your hands alone.
- Choose two-handled cookware: Always opt for pots and pans with a “helper handle” opposite the main handle. This distributes weight between both hands, reducing the strain on a single wrist by up to 50%.
Electric Can Openers vs. Weighted Knives: Which Solves the Bigger Pain Point?
When building your kitchen ecosystem, it’s tempting to look for a single “best” tool. In reality, the most effective approach is to match the right tool to the specific problem. Take two common aids: electric can openers and weighted knives. They appear different, but both are designed to solve a “pain point.” An electric can opener tackles the challenge of grip and torsion weakness. The painful, high-torque motion of twisting a manual opener is completely eliminated, replaced by the simple push of a button. It solves a problem of force application.
A weighted knife, on the other hand, addresses a different issue: tremors and lack of fine motor control. The added weight provides proprioceptive feedback to the hand, helping to dampen tremors and guide the knife more steadily and safely. It solves a problem of stability and control. Neither tool is inherently “better”; they simply solve different problems. Choosing between them—or recognizing the need for both—requires an honest assessment of your biggest daily struggle. Is it the pain of twisting and gripping, or the frustration of unsteady hands?
Occupational therapists recommend building a kitchen ecosystem with both high-tech and low-tech solutions. True kitchen independence often requires multiple tools working together to address different energy levels throughout the day.
– Jeanine Beasley, OT, Arthritis Foundation
The table below breaks down the practical considerations for each, helping you evaluate which solution might offer the most immediate relief for your personal challenges.
| Factor | Electric Can Opener | Weighted/Ergonomic Knife |
|---|---|---|
| Initial Cost | $25-$60 | $15-$40 |
| Counter Space | 6-8 inch footprint | Drawer storage only |
| Maintenance | Complex cleaning, electrical parts | Simple dishwasher safe |
| Problem Solved | Grip/torsion weakness | Tremors, control issues |
| Energy Required | Minimal (push button) | Some arm strength needed |
How to Identify ‘Ease-of-Use’ Certification on Packaging?
Navigating the store aisle, you’ll be met with a barrage of terms like “ergonomic,” “arthritis-friendly,” and “easy grip.” These are often just marketing fluff. To find products that have been genuinely vetted, look for official certification logos. The most well-known is the Arthritis Foundation’s Ease of Use Certification. Products with this seal have been independently tested by experts and evaluated by people with arthritis to ensure they are easy to use. Other relevant marks include “Universal Design Certified,” which indicates a product is usable by a wide range of abilities, and various ergonomic design awards.
These logos are your first clue that a company has invested in user-centered design. However, it’s also important to understand the story behind them. A certification is not a guarantee that the tool will work for *you*, as hand size and specific needs vary. Furthermore, some of the best universally designed products may choose not to display the certification for marketing reasons.

The crucial lesson is to use certifications as a starting point, not a final verdict. They help you filter out the noise and focus on products that have, at a minimum, been thoughtfully designed. The OXO Good Grips case study, for instance, shows how a product designed for arthritis became a mainstream success, highlighting that good design is often universal.
Case Study: OXO Good Grips: From Arthritis Award to Universal Design Success
OXO Good Grips tools won the Tylenol/Arthritis Foundation Design Award in 1990 for their ergonomic handles designed for arthritis sufferers. However, the company later removed this certification from packaging after realizing it stigmatized the products – making non-arthritis sufferers believe the tools weren’t for them. This case demonstrates how ‘certified’ products may actually limit their market appeal despite their universal benefits.
The ‘Drawer of Useless Gadgets’ Trap: Buying Tools You Can’t Clean
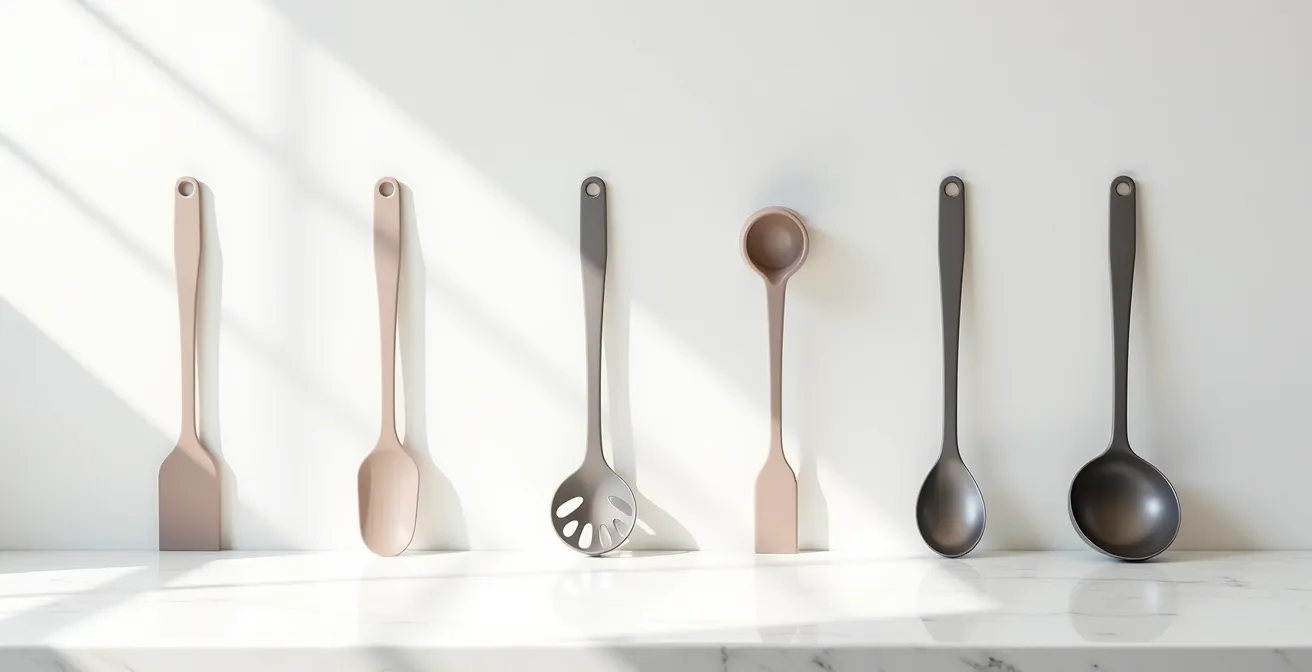
Every home has one: a drawer filled with single-purpose, “as-seen-on-TV” gadgets that were used once and then abandoned. For someone with arthritis, this drawer is often populated by tools that were easy to use but impossible to clean. A complex food chopper with dozens of tiny crevices or a non-stick handle that can’t go in the dishwasher quickly becomes more trouble than it’s worth. The energy and dexterity required for cleaning are a hidden cost that must be factored into any purchase decision.
Before you buy any new kitchen tool, perform a “cleanability audit.” Imagine taking it apart, scrubbing its nooks and crannies, and reassembling it. Can you do this with limited grip strength? Will it trap food and breed bacteria? Often, the simplest, most elegant tools are the best. A seamless silicone spatula or a single-piece forged metal ladle has no joints or hidden areas where food can get stuck. They are inherently easier to clean and maintain, ensuring they will remain a helpful part of your kitchen ecosystem rather than a resident of the gadget graveyard.
Some users have found clever workarounds, but the best strategy is to avoid the problem altogether by choosing simple, well-made tools. The following checklist can guide your pre-purchase evaluation.
Your Action Plan: Pre-Purchase Cleaning Audit Checklist
- Can I disassemble this tool with one hand or limited grip strength? If it requires complex twisting or pinching to take apart, it will be a pain to clean.
- Are there tiny crevices where food particles could get trapped? Look at gears, hinges, and seams. These are future cleaning headaches.
- Is ‘dishwasher safe’ realistic? Will high heat or harsh detergents damage the soft, non-slip coating that makes the tool useful in the first place?
- Can I reach all surfaces with a standard dish brush? If it requires special tiny brushes to clean, you’re less likely to use it.
- Will the tool air-dry completely or trap moisture? Trapped water can lead to mold or rust, especially in complex gadgets.
Why 34 Inches Is the Magic Height for Seated Meal Preparation?
So far, we’ve focused on tools. But what about your environment? Standing for long periods to chop vegetables or stir a pot can be just as draining as a painful grip. Adapting your workspace to allow for seated preparation is a game-changer for energy conservation. The Americans with Disabilities Act (ADA) recommends a standard counter height of 34 inches for accessible kitchens, as this height works well for many wheelchair users and people working from a standard chair. It allows for proper posture, with elbows bent at a comfortable 90-degree angle, reducing strain on the back, neck, and shoulders.
However, as occupational therapists often note, this is just a starting point. The true “magic height” is personal. You don’t need a full kitchen renovation to achieve this. A sturdy rolling kitchen cart, a lower dining table, or even a thick cutting board placed securely on your lap can create an instant, ergonomically correct seated workstation. The goal is to bring the work to a comfortable level, allowing you to sit with your feet flat on the floor and work without hunching or reaching. This simple environmental change can dramatically increase your stamina and make complex meal prep feel manageable again.
The 34-inch ADA standard is just a starting point. The true magic is finding your personal ergonomic height: elbow height minus 2-4 inches. This simple measurement can transform your kitchen experience.
– Carole Dodge, OT, University of Michigan Health System
Your Action Plan: Creating Your Personal Ergonomic Height Without Renovation
- Measure your ideal height: Sit in a comfortable, straight-backed chair and measure the distance from the floor to your bent elbow. Subtract 2 to 4 inches to find your optimal work surface height.
- Use a sturdy rolling kitchen cart: Find a cart that can be adjusted to your personal height and use it as a mobile prep station.
- Try a lapboard: For simple tasks like chopping, place a thick, stable cutting board on your lap with a non-slip mat underneath for stability.
- Work at your dining table: If your dining table is lower than your kitchen counters, use it for prep work before moving to the stove.
- Add a footrest: If you use a taller stool to work at the counter, ensure you have a footrest to maintain proper posture with your feet flat and supported.
When to Prep Ingredients to Avoid ‘Morning Stiffness’ Delays?
For many with inflammatory arthritis, mornings are the most difficult time of day. Joint stiffness and pain can make even simple tasks feel monumental. Trying to chop an onion or prepare a full breakfast during this window is a recipe for frustration. This is where strategic timing becomes one of your most powerful adaptive tools. Instead of fighting against your body’s rhythm, work with it. The key is to shift your food preparation to a time of day when you feel your best.
This could mean prepping vegetables for the next day’s dinner in the afternoon when you have more energy and less stiffness. It could mean adopting a “prep once, eat thrice” strategy, where you spend one high-energy period batch-cooking core ingredients like grains, proteins, and chopped vegetables. These components can then be quickly assembled into different meals throughout the week with minimal effort. This approach transforms cooking from a demanding, time-sensitive task into a simple act of assembly. It decouples the high-effort work of preparation from the immediate need to eat, giving you control over your schedule and freeing you from the tyranny of morning stiffness. Planning your prep is as crucial as choosing the right knife.
Your Action Plan: The ‘Prep Once, Eat Thrice’ Strategy Components
- Batch-prep versatile base ingredients: On high-energy days, cook up a large batch of mirepoix (onions, carrots, celery), grains (quinoa, rice), and shredded proteins (chicken, pork).
- Flash-freeze prepped items: Spread prepped ingredients on a baking sheet and freeze for an hour before bagging. This prevents them from clumping together.
- Store in portion-sized containers: Keep your prepped components in easy-to-open, single-serving containers for quick meal assembly.
- Label everything clearly: Use large, easy-to-read labels to mark the contents and prep date on all your containers.
- Keep a meal assembly chart: Post a simple chart on your fridge showing which components can be combined to create different meals (e.g., “Mirepoix + Chicken + Rice = Soup”).
Key Takeaways
- True kitchen independence is built on a strategy of leverage and energy conservation, not just on buying gadgets.
- The best adaptive tools are often the simplest ones that are easy to clean and serve a clear purpose within your personal “kitchen ecosystem.”
- Adapting your environment (like using a seated prep station) and your process (like prepping during low-pain periods) is as important as the tools you use.
Which Adaptive Tools Help Arthritis Sufferers Perform Daily Tasks Pain-Free?
Ultimately, the most effective “adaptive tool” is a personalized strategy. While specific products are helpful, true, long-term independence comes from learning adaptive techniques and understanding the principles of joint protection. This is the domain of occupational therapists (OTs), who are experts in analyzing daily tasks and finding creative solutions. A consultation can be invaluable, as an OT can assess your specific limitations, home environment, and goals to recommend hyper-specific tools and, more importantly, techniques that don’t require purchasing anything.
Studies have shown the profound impact of this approach. For example, a study of arthritis patients who consulted occupational therapists found that personalized tool recommendations and technique training improved daily function by 60%. This is because the solution is often not a product, but knowledge. Learning to use a damp cloth for a better grip on a jar, sliding a heavy pot instead of lifting it, or using your body weight to open a door are all powerful adaptations that cost nothing.
Building your kitchen ecosystem starts with these free, foundational techniques. Before investing in expensive equipment, master the simple hacks that reduce strain and conserve energy every day. These small, consistent changes build the foundation for a pain-free, independent life in the kitchen.
Your Action Plan: No-Cost Kitchen Adaptations You Can Do Today
- Use a damp dishcloth: Wrap a damp dishcloth or a piece of rubbery shelf liner around stubborn jar lids for a significant grip enhancement without any special gadgets.
- Store items at elbow height: Reorganize your cupboards and pantry so that frequently used items (oils, spices, daily dishes) are stored between your shoulder and waist height to eliminate reaching and bending.
- Slide, don’t lift: Instead of lifting a heavy pot of water from the sink to the stove, slide it along the counter. Use a smaller container to fill it if necessary.
- Buy pre-cut ingredients: On days when your energy is low or pain is high, give yourself permission to buy pre-chopped vegetables from the grocery store salad bar or frozen section.
- Use rubber bands for grip: Wrap thick rubber bands around the handles of your existing utensils, toothbrushes, or pens to instantly create a larger, non-slip gripping surface.
The journey to reclaiming your kitchen is a process of smart adaptation. By focusing on leverage, evaluating tools for their entire lifecycle, and strategically managing your energy, you can transform your kitchen from a place of frustration back into a source of joy and independence. The next logical step is to start with the simple, no-cost adaptations to see what a difference they can make in your daily routine.